My four year old daughter asked me recently if we could make cupcakes with sprinkles, emphasis on the sprinkles. I said we could do it on the weekend, and when the weekend arrived, she asked every 5 minutes until we finally made them. Patience is not one of her virtues, but she gets that from me.
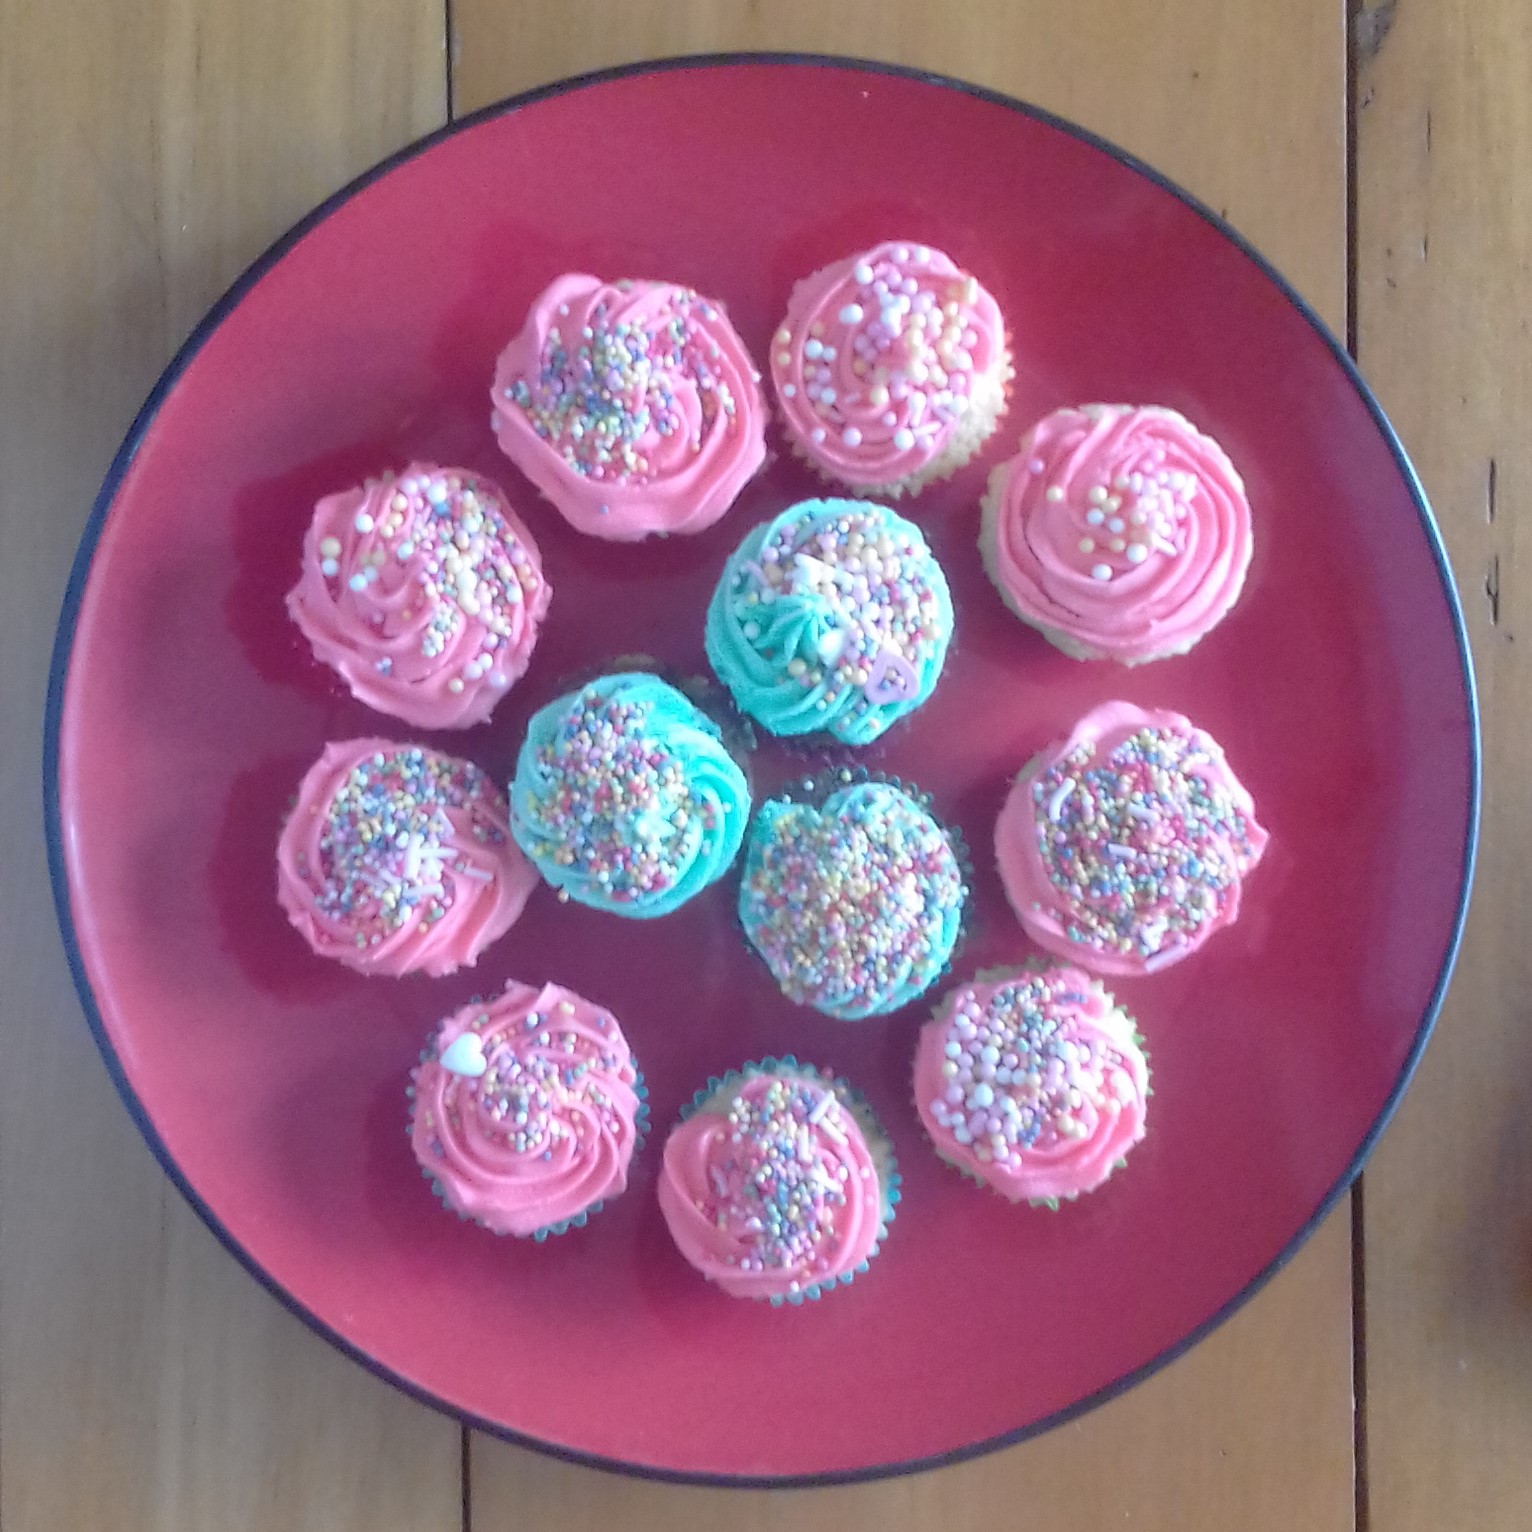
We pulled out the pulled out the trusty Edmonds Cookery Book, a must for every kiwi kitchen, and got baking. The cupcake recipe is nice and simple, and works well every time. We made both chocolate and vanilla. We then decorated them with buttercream icing/frosting in blue and pink.
Ingredients
Cupcakes:
125g butter, softened
1/2 cup white sugar
2 free range eggs
1 cup self raising flour
1/4 cup milk
For vanilla cupcakes:
1 teaspoons vanilla essence, added to wet ingredients
For chocolate cupcakes:
2 tablespoons cocoa, added to dry ingredients
Buttercream icing/frosting:
2 cups icing sugar
115g butter, softened
½ teaspoon vanilla essence
1–2 tablespoons milk
food colouring
Sprinkles:
a selection of sprinkles
Instructions
Cupcakes:
Preheat the oven to 190°C (374°F).
Cream butter and sugar together until light and fluffy. Add the free range eggs one at a time, beating well in between. Sift the flower into a bowl and fold in wet ingredients. Stir in the milk. Place the mixture in 24 mini cupcake cases (or 12 regular cupcake cases) in an appropriately sized muffin tray.
Bake at 190°C (374°F)for 15 minutes or until the cupcakes spring back. Cool cupcakes to room temperature before decorating.
Buttercream icing/frosting:
Cream butter, vanilla essence and icing sugar together until smooth. Add milk until consistency is good for piping. The desired amount of icing can be coloured with food colouring to whatever colour you like. We chose pink and blue this time.
Choose a piping nozzle and put in a piping bag, add the icing on top. Fold over the top of the piping bag and squeeze the icing to the bottom. Decorate the cupcakes as desired.
Add the sprinkles.
What the kids can do
Hand washing: Don’t forget to get the kids to wash their hands before you start. Little hands always seem to end up touching everything, including the ingredients.
Eggs: Pro tip for breaking eggs with a 4 year old, break eggs into a separate glass bowl before adding to your other ingredients. That way you can see and pick out any bits of shell before they are added in by mistake. I like to use free range eggs, because it is kinder to the chickens, and they also taste better. Bear in mind that raw eggs can carry Salmonella so wash little hands if they end up the raw egg.
Mixing the ingredients: My daughter (age 4) likes to add the ingredients to the food processor. Bear in mind that little hands can fit down the shoot of the food processor, so always supervise this step. The biggest messes seen to happen when sifting and mixing dry ingredients with the kids. There is not really any way around this, so just be ready to clean up afterwards. When fold wet into dry ingredients, you want to mix thoroughly, but not too much or the cakes will go flat, this usually requires the grown up to either finish off the mixing and/or intervene before mixed too much. Kids can help fill the cupcake cases with two teaspoons, but the grown up may have to even the cupcake mixture out at the end.
Icing and sprinkles: Kids can help mix the icing in the food processor (see above). Let the kids pick the colour for the icing, and they can help mix it in and help decide if the colour is strong enough. My four year olds hand are a bit small to actually pipe the icing. So I set up a production line, were I put the icing on and they are chief in charge of sprinkles. I bought several different types to put on. I put the cupcake in the centre of a dinner plate, this way any sprinkles that go astray, and they will, can be caught and collected in a bag for next time.
These cupcakes keep a few days at room temperature. Don’t feel like you have to eat all these cupcakes at once, they do freeze well. I like to make mini cupcakes and wrap them individually, that way you can thaw them one at a time for lunch box or snack time treat. This also means you can limit when, and how many, cupcakes the kids eat and you don’t have to feel as bad about the sugar content. These also make great kids party food.