“Breakfast” Biscuits/Cookies

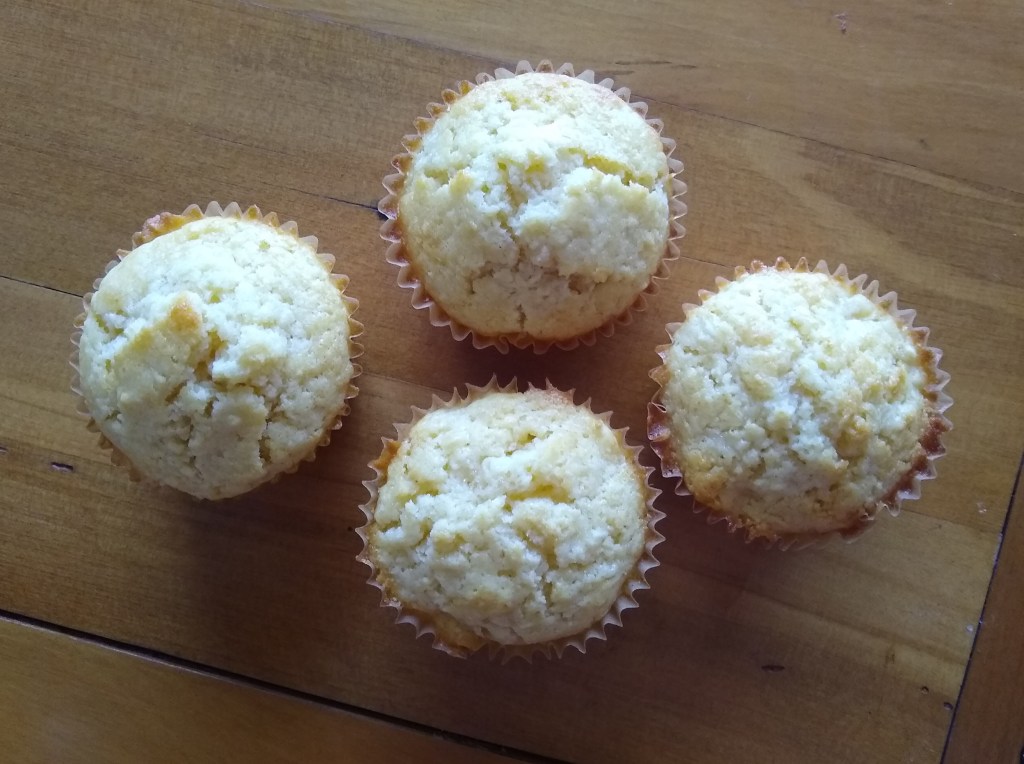
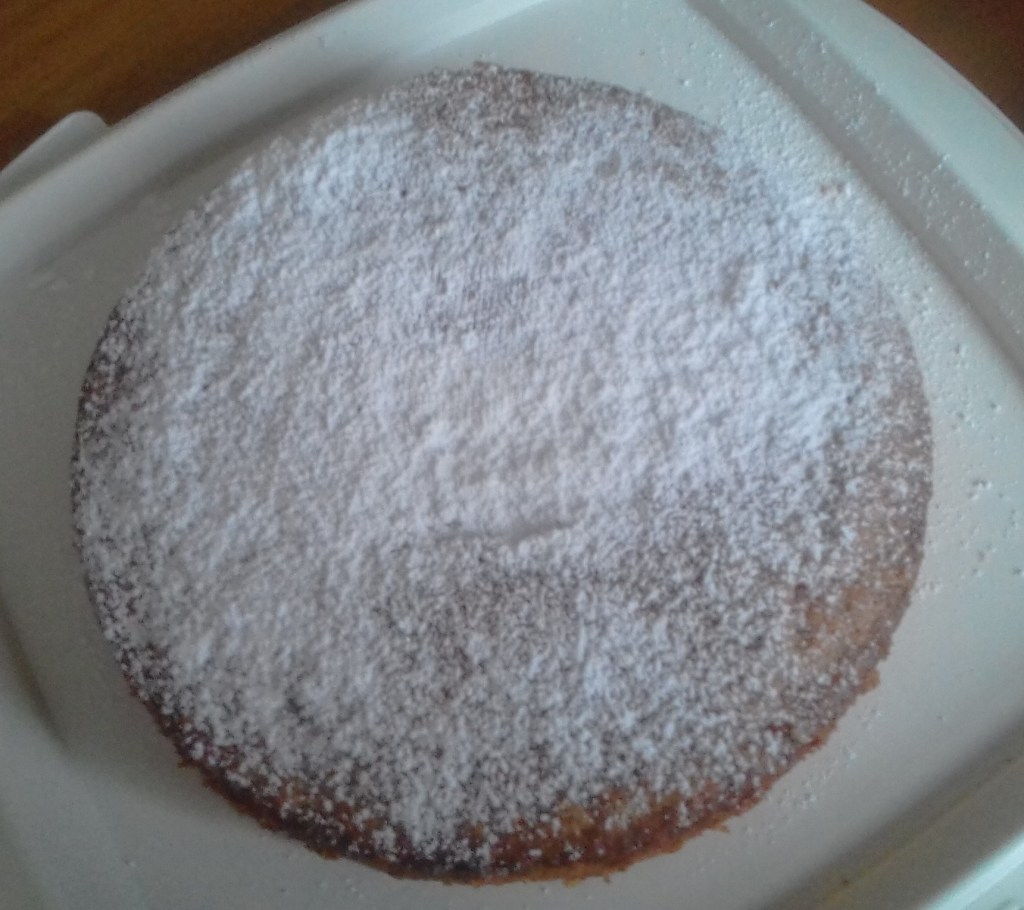
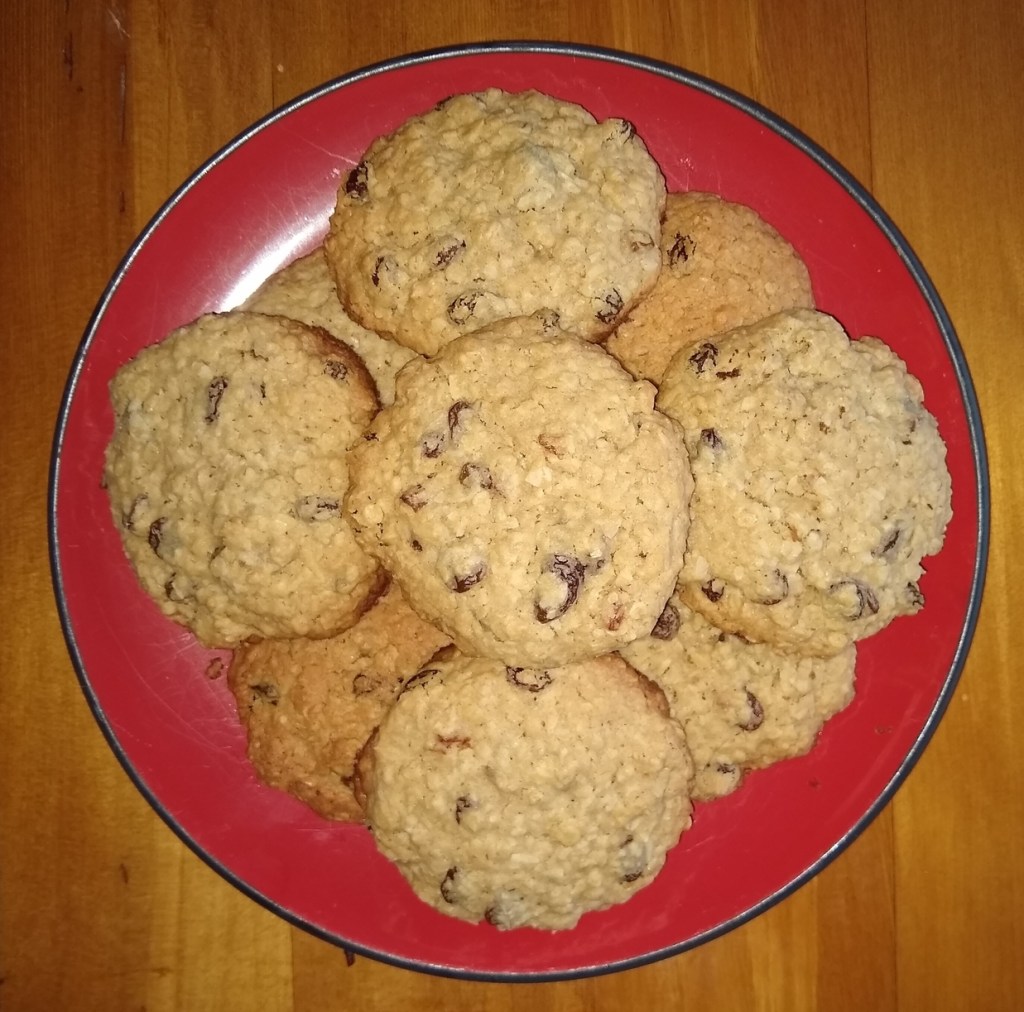
This is a modification of a Martha Stewart recipe. This recipe is pretty versatile, you can add whatever combination of dried fruit, seeds and/or nuts you like (we did raisins and apricots today). Then make anything from small snack to large “running too late to make breakfast” sized biscuits. You don’t have to feel too bad about giving the kids biscuits, because they are packed with lots of good things.

Ingredients:

250 grams butter
1 1/2 cups brown sugar
2 free-range eggs
1 teaspoon vanilla essence
2 cups of flour
1/2 teaspoon of baking powder
pinch salt
2 cups rolled oats
1 cup shredded coconut
1 1/2 cups raisins
1/4 cup dried apricots chopped

Instructions:

Cream butter and sugar together in a food processor until light and fluffy. Add eggs one at a time, and vanilla essence. Add flour, baking powder and salt into food processor and mix until combined. Transfer to a large bowl. Add rolled oats, coconut raisins and dried apricots (chopped to the size of about raisins).

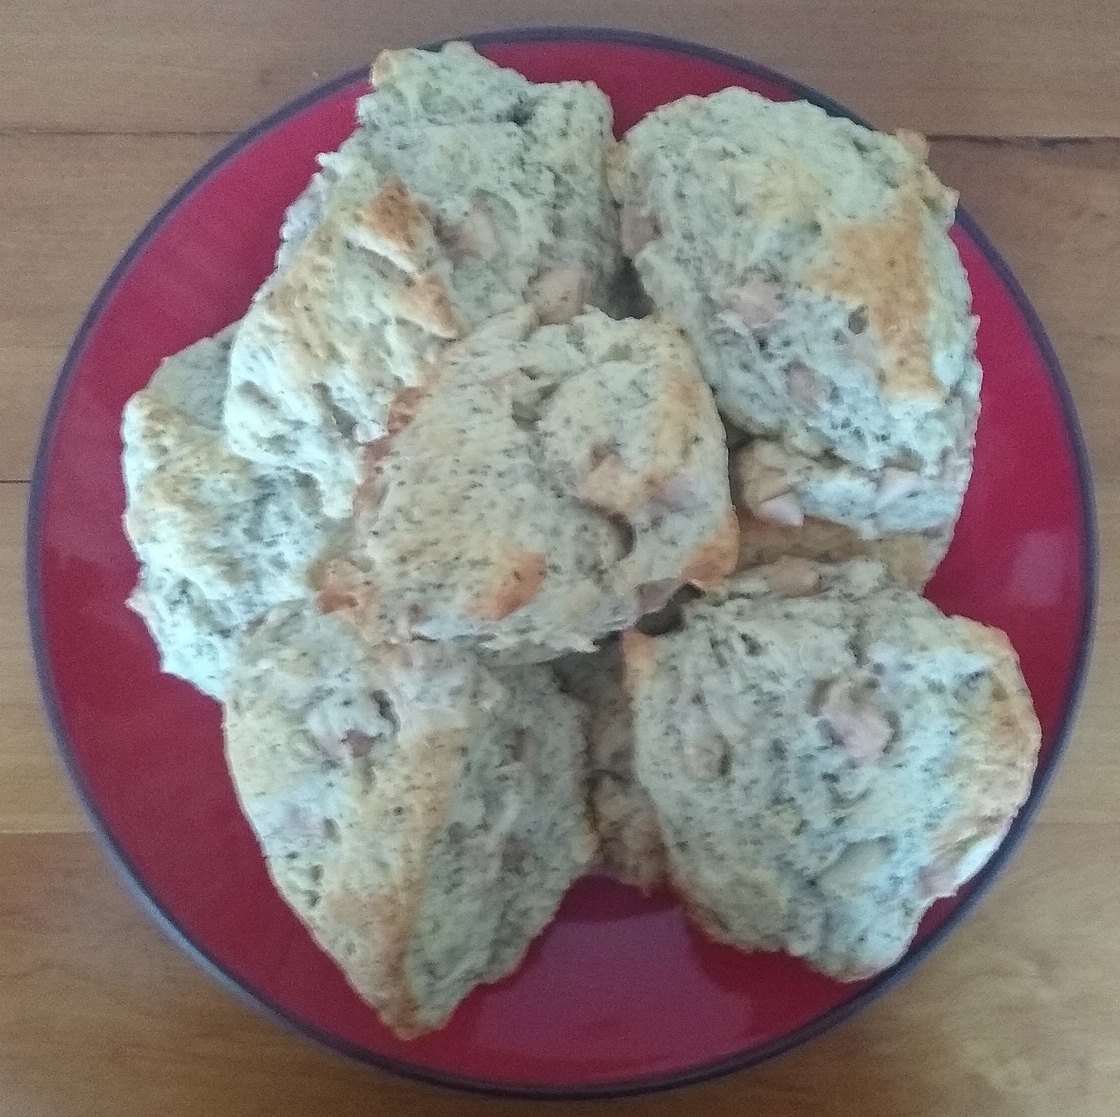
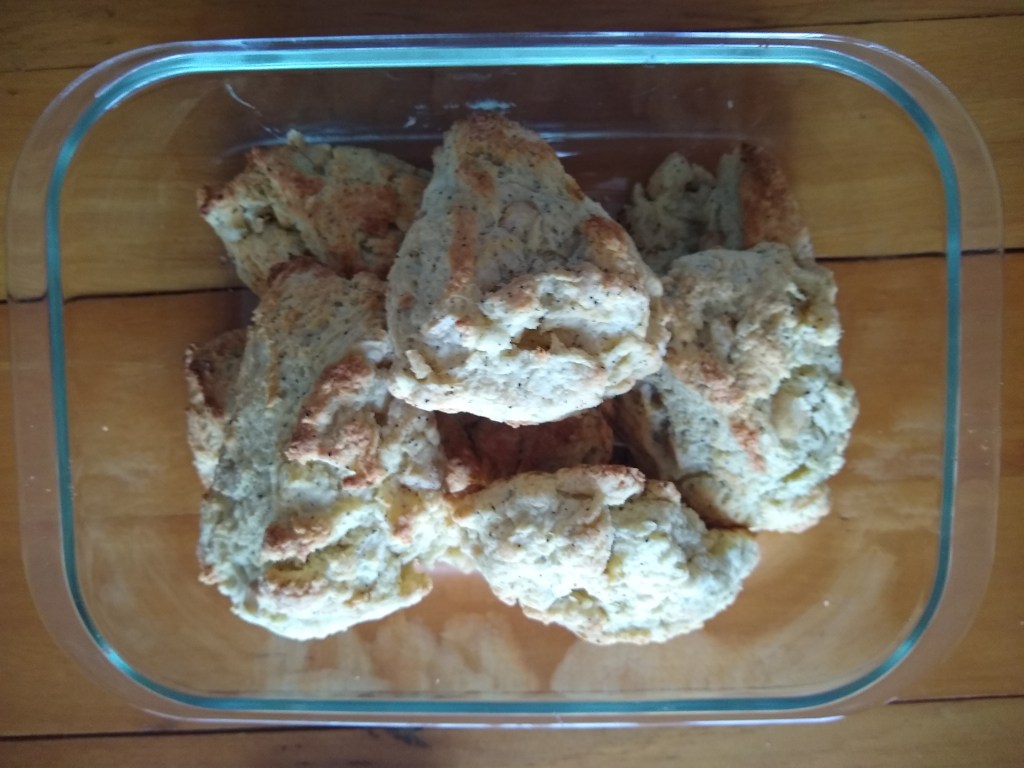
With nice clean hands mix everything together until combined. Make balls of the mixture (we did about golf ball sized today) and squash down to about 1 cm thick. Bake at 180°C (356°F) for 20-30 minutes depending on the size (we did 25 minutes today).

What the kids can do:

Hand washing: Don’t forget to get the kids (and grownups too of course) to wash their hands before you start. Little hands always seem to end up touching everything, including the ingredients. This is extra important given the current Covid-19 situation. For good 20 second hand wash, have them sing “happy birthday to me” twice.

Eggs: Pro tip for breaking eggs with a 4 year old, break eggs into a separate glass bowl before adding to your other ingredients. That way you can see and pick out any bits of shell before they are added in by mistake. I like to use free range eggs, because it is kinder to the chickens, and they also taste better. Bear in mind that raw eggs can carry Salmonella so wash little hands if they end up the raw egg. I also don’t recommend eating raw cake batter, just in case.

Mixing the ingredients: My daughter (age 4) helped mix the ingredients in the food processor. Bear in mind that little hands can fit down the shoot of the food processor, so always supervise this step. She then helped to add the final ingredients to the bowl and mix, though I had to finish this off.

The biggest messes seen to happen when sifting and mixing dry ingredients with the kids. A great tip from reader Dana M is to put a towel down underneath, which catches any stray ingredients for easy cleaning.

Popsicle Stick Playhouse

In week two of covid-19 lock-down, we went through the craft drawer to see what we could make with what we had on hand. We had a whole bunch of popsicle sticks left over from another project, so we came up with this…

Things you will need:

Popsicle sticks
Glue
Cord or string

Instructions:

We made this up as we went along but the are plenty of ideas on pinterest. All you need is a bit of imagination. It pays to glue sections together flat, and then assemble them in 3D.

What the kids can do:

Cutting popsicle sticks: I recommend a grownup does this part. It takes quite a bit of pressure to cut them with scissors.

Assembly: Kids can help put the glue on and place the popsicle sticks. The main problem we had was related to a lack of patience while waiting for intermediate steps to dry.

Pear Cupcake Princesses

Miss four wanted to make some princess cupcakes. We made some pear cupcakes based on this recipe, to help use up the oodles of pears from our pear trees. Ideally I would have printed out the princesses for the top of the cakes, but we are stuck at home under Covid-19 lock-down without access to a printer. Therefore, please forgive my complete lack of artistic talent.

Ingredients:

Pear cupcakes:

125 g butter, softened
2/3 cup sugar
2 free range eggs
2 cup self-raising flour
2/3 cup milk
2 pears, peeled, cored and grated

Lemon butter icing:

50 g butter, softened
1 1/2 cups icing sugar
Juice of 1 lemon
Food colouring

Things you will need:

pale coloured card
a printer OR more artistic talent than me
coloured pens or pencils for colouring in

Instructions:

Pear cupcakes:

Preheat the oven to 180°C (356°F). Place cupcake liners into a 12 hole muffin pan.

In a food processor, beat together the butter and sugar until light and fluffy. Add the free range eggs one at a time. Add the grated pears. We change the food processor attachment to a grater and feed in the pears on top of the other wet ingredients.

Sift the flour into a separate bowl and add the milk and all of the wet ingredients. Fold the ingredients together until combined. Fill 12 cupcake liners with mixture and bake at 180°C (356°F) for 25 minutes or until cupcakes spring back when touched.

These cupcakes are great to eat just on their own and freeze well.

Lemon butter icing:

Combine butter, icing sugar and food colouring in the food processor. Mix until combined. Add lemon juice until the icing is of a good piping consistency. I made the icing a bit to thin on this occasion, so I recommend adding the lemon juice gradually. Pipe on top of the cupcakes using a long narrow piping tip.

Princesses: Thanks to the lack a printer and Covid-19 lock-down, I attempted to draw some Disney princesses. I am afraid that drawing is not one of my talents. My four year old then coloured them in.

What the kids can do:

Hand washing: Don’t forget to get the kids (and grownups too of course) to wash their hands before you start. Little hands always seem to end up touching everything, including the ingredients. This is extra important given the current Covid-19 situation. For good 20 second hand wash, have them sing “happy birthday to me” twice.

Eggs: Pro tip for breaking eggs with a 4 year old, break eggs into a separate glass bowl before adding to your other ingredients. That way you can see and pick out any bits of shell before they are added in by mistake. I like to use free range eggs, because it is kinder to the chickens, and they also taste better. Bear in mind that raw eggs can carry Salmonella so wash little hands if they end up the raw egg. I also don’t recommend eating raw cake batter, just in case.

Mixing the ingredients: My daughter (age 4) helped mix all the ingredients in the food processor. Bear in mind that little hands can fit down the shoot of the food processor, so always supervise this step. Miss four had a go at pealing the pears (being careful of fingers!), then I finished the pealing and cored the pears. My daughter then cut the pears up with a butter knife (for safety) and fed them into the food processor for grating.

The biggest messes seen to happen when sifting and mixing dry ingredients with the kids. A great tip from reader Dana M is to put a towel down underneath, which catches any stray ingredients for easy cleaning. When fold wet into dry ingredients, you want to mix thoroughly, but not too much or the cupcakes will go flat, this usually requires the grown up to either finish off the mixing and/or intervene before things are mixed too much.

Princesses: I asked my four year old if she wanted to draw the princesses, she said I should do it, because I know how to draw princesses. I beg to differ, but attempted to draw Cinderella, Aurora, Elsa, Moana and Belle. Miss four did the colouring in.

Slime Time!

We had an attempt at making home made slime using this recipe, but it was a dismal failure. I don’t think we had the right kind of contact lens solution. So to make sure that our slime would work this time we bought an Elmer’s Everyday Slime Starter Kit. We made a half batch.

Things you will need:

An Elmer’s Everyday Slime Starter Kit
A bowl
Something to mix with

Instructions:

Pour half a bottle of Elmer’s clear school glue into a bowl. Add your choice of Elmer’s glitter glue pen, we added a little bit of every colour.

Add half a bottle of Elmer’s magical liquid. Mix until the mixture starts to come together. You can then take out the slime and kneed it with your hands.

What the kids can do:

Hand washing: Don’t forget to get the kids (and grownups too of course) to wash their hands before you start. Just remember that whatever is on their hands will end up in the slime. This is extra important given the current Covid-19 situation. For good 20 second hand wash, have them sing “happy birthday to me” twice.

The only things I really did was pouring out the half bottle of glue and the half bottle of magic solution. Miss four did everything else.

Pear and Chai Tea Scones

Another pear recipe today… I modified this recipe from baked by an introvert. I have cheated a bit and just used chai tea bags rather than adding the spices individually. This gives the scones an additional tea leaf flecked appearance, and they taste just as good.

Ingredients:

2 3/4 cups self-raising flour
1/3 cup white sugar
1/2 teaspoon baking soda
pinch of salt
contents of 4 Chai tea wit

Instructions:

In a food processor combine flour, sugar, baking powder, salt, chai tea and butter. Cut butter into dry ingredients until combined evenly.

Peal and core pears, and cut into squares approximately 1 cm cubes. place in a bowl and add dry ingredients on top. Add a cup of cultured buttermilk (or Greek yogurt works too, because lets face it, what are you more likely to have in your fridge?) and cream. Combine until mixture comes together. Kneed dough a few times and form into a ball. Chill in the fridge for 30 minutes.

While chilling the dough, preheat oven to 190°C (374°F).

Squash ball into about a 20 cm diameter circle and cut into 8 segments. Place scones on a greased tray and cook at 190°C (374°F) for 25 minutes or until browned. The original recipe calls for 400°F (204°C), in my oven this burns the bottom of the scones, so better to cook at a lower temp for a bit longer.

Cool scones and enjoy. They are great reheated with a bit of butter.

What the kids can do:

Hand washing: Don’t forget to get the kids (and grownups too of course) to wash their hands before you start. Little hands always seem to end up touching everything, including the ingredients. This is extra important given the current Covid-19 situation. For good 20 second hand wash, have them sing “happy birthday to me” twice.

Eggs: Pro tip for breaking eggs with a 4 year old, break eggs into a separate glass bowl before adding to your other ingredients. That way you can see and pick out any bits of shell before they are added in by mistake. I like to use free range eggs, because it is kinder to the chickens, and they also taste better. Bear in mind that raw eggs can carry Salmonella so wash little hands if they end up the raw egg. I also don’t recommend eating raw cake batter, just in case.

Mixing the ingredients: My daughter (age 4) helped mix all the dry ingredients in the food processor. Bear in mind that little hands can fit down the shoot of the food processor, so always supervise this step. Miss four had a go at pealing the pears (being careful of fingers!), then I finished the pealing and cored the pears. My daughter then cut the pears up with a butter knife (for safety) and quickly got sidetracked wanting to eat them. But hey, 5+ a day, I will call that a win! We had to do an extra two pears this time, as two got eaten.

The biggest messes seen to happen when sifting and mixing dry ingredients with the kids. A great tip from reader Dana M is to put a towel down underneath, which catches any stray ingredients for easy cleaning. When fold wet into dry ingredients, you want to mix thoroughly, but not too much or the scones go flat and tough, this usually requires the grown up to either finish off the mixing and/or intervene before things are mixed too much.

Pear Yogurt Cake

We have two pear trees in the back garden. This time of year we come into a glut of pears, so there will likely be a few pear recipes coming up. Please let me know if the comments if you have any pear recipe recommendations for us to try. Today, we had some Greek yogurt in the fridge, so we tried this Poached Pear Vanilla Yogurt Cake from Pardon Your French. Check it out for more yummy French recipes.

Oodles of home grown pears

Ingredients:

Poached pears:

2 pears (maybe 3 – in case one gets eaten)
1 cup sugar
3 cups water
juice of ½ lemon
1 teaspoon of vanilla essence

Yogurt cake:

125g butter, softened
½ cup Greek yogurt
1 ½ cups sugar
3 free range eggs
1 teaspoon vanilla essence
3 cups self-raising flour

Icing sugar for decoration

Instructions:

Poached pears:

Combine the sugar, water, lemon juice and vanilla essence in a large pot. Bring mixture to a simmer. Peel and cut the pears in quarters, removing cores. Poach pears in the syrup for about 10 minutes. Remove pears and set aside to cool.

Yogurt cake:

Preheat oven to 180°C (356°F).

In a food processor beat together the butter and sugar until light and fluffy. Beat in the yogurt, free range eggs and vanilla essence. Sift the flour into a large bowl, make a well in the middle and fold in the wet ingredients.

Pour the batter into a greased cake tin and spread it out. Cut the pears in slices leaving one then attached at one end. Fan out the pears and place them decoratively on top of the cake.

Bake for about one hour at 180°C (356°F) until a skewer comes out of the centre clean.

Allow to cool before dusting with icing sugar.

What the kids can do:

Hand washing: Don’t forget to get the kids to wash their hands before you start. Little hands always seem to end up touching everything, including the ingredients.

Eggs: Pro tip for breaking eggs with a 4 year old, break eggs into a separate glass bowl before adding to your other ingredients. That way you can see and pick out any bits of shell before they are added in by mistake. I like to use free range eggs, because it is kinder to the chickens, and they also taste better. Bear in mind that raw eggs can carry Salmonella so wash little hands if they end up the raw egg. I also don’t recommend eating raw cake batter, just in case.

Mixing the ingredients: My daughter (age 4) added all the ingredients for the poaching to a pot. Once it was time to heat it up, I took over, reminding her the pot would be hot. Miss four had a go at pealing the pears (being careful of fingers!), then I finished the pealing and cut and cored the pears. We had to do an extra pear, as one got eaten along the way. Then we poached the pears for ten minutes while we made the cake batter with Miss four adding the ingredients to the food processor. Bear in mind that little hands can fit down the shoot of the food processor, so always supervise this step.

The biggest messes seen to happen when sifting and mixing dry ingredients with the kids. There is not really any way around this, so just be ready to clean up afterwards. When fold wet into dry ingredients, you want to mix thoroughly, but not too much or the cakes will go flat, this usually requires the grown up to either finish off the mixing and/or intervene before things are mixed too much. Kids can help put the cake mixture into the greased cake tin.

Having cooled the poached pears, I cut them to fan the out, then my daughter helped arrange them on top of the cake. Once baked, kids can help with the sprinkling of icing sugar. In this case though, Miss four was onto other things by the time the cake was done, so I finished it off alone.

This cake keeps a few days at room temperature. A slice can be added to lunch boxes and you don’t have to feel so bad about giving them cake, because it comes with built in fruit.

Decoupage Map Letters

This decoupage project was simpler and therefore, much more successful than the last one at keeping my four year old interested. Since the advent of GPS, paper maps have become somewhat obsolete. I picked up a whole bunch of second-hand local maps for only a dollar and this is the first project I have tried with them.

Things you will need:

Second-hand map of local area – Te Upoko o te Ika a Māui Wellington Region
MDF letters from craft store
Mod podge – decoupage sealer, glue and finish – I got the kids washable kind
Mod podge clear acrylic sealer
Black washable paint
Scissors
Paint brush
Craft knife

Instructions:

Take the MDF letters and paint the edges with black paint. Leave to dry. Doing this with a four year old we used washable paint. Remember to give the letters a spray with the acrylic sealer before getting them wet again with mod podge.

Take areas of the map that you want on your letters and cut them out with scissors, leaving a bit of a margin. I made sure our home address was one of the areas I used.

Apply mod podge to the back of the map and stick on the letters. Make sure you put the letters in the right orientation for the map. We almost ended up with an upside-down E. In hindsight, I would have left the maps to dry before cutting around the letters with a craft knife. This would have left sharper edges. However, I had an impatient (she inherited that from me) four year old with me, so we forged ahead. I had her cut around the letters with scissors, and “finished them off” myself with a craft knife for safety reasons.

Apply a couple of layers of mod podge over the top of the maps, and down the side of the letters until happy with the result. Don’t forget to spray on a final layer of acrylic sealer to make sure the letters are not tacky to the touch.

We will put the letters up on the wall (once renovations are complete) as above arranging the letters around a clock as they fall on the map, around Te Whanganui-a-Tara Wellington Harbour.

What the kids can do:

Painting the letters: Easily done with a paint brush. My four year old wanted to paint the front of the letters as well, not necessary, but we did it anyway. You may want to touch up any spots that were missed.

Cutting out the map: This will depend on the child’s scissor skills. My four year hold had a go at this. There is no need to cut exactly to size, as long as things are not cut too small it will be just fine.

Gluing the map: Easily done with a paint brush. I had to do the second coat of mod podge alone, but otherwise miss four was interested in participating in this project.

Cutting out the letters: I had my four year old cut around the glued on map with scissors, and I “finished it off” with a craft knife. She felt like she was doing something and avoided any craft knife associated injuries.


Lemon Balm Cake

This cake is a variation on a chamomile cake recipe from Better Homes and Gardens magazine. I have tried with both chamomile and lemon balm, as we have both in our garden, but I think the lemon balm version is actually better. Also lemon balm, like all members of the mint family, grows like crazy, so I always seem to have some on hand. Lemon balm also has a bunch of other uses if you still have some left over. You can pick bunches at a time and hang them upside down to dry. Once dry, remove leaves and store in a air tight jar.

Lemon balm growing like crazy in our garden

Ingredients:

1 1/2 cups of self raising flour
pinch of salt
1/8 teaspoon of baking soda
1/2 cup of lemon balm leaves, dried and crushed
125 g butter
1 cup white sugar
1 teaspoon vanilla essence
3 free range eggs
125g tub light sour cream

icing sugar for dusting

Instructions:

Preheat oven to 160°C (320°F).

Sift flour, salt and baking soda into a large bowl. Add the dried crushed lemon balm leaves to the mix. I crush these in the spice mill attachment of my food processor, but you can do by hand if you like.

Cream butter and sugar together until fluffy. Add vanilla, and the 3 free range eggs, one at a time. Add this mixture, and the sour cream to the dry ingredients and fold together.

Put cake mixture into a greased cake pan and bake to 1 hour or until cake springs back when touched.

Allow to cool and dust with icing sugar before serving.

What the kids can do:

Hand washing: Don’t forget to get the kids to wash their hands before you start. Little hands always seem to end up touching everything, including the ingredients.

Eggs: Pro tip for breaking eggs with a 4 year old, break eggs into a separate glass bowl before adding to your other ingredients. That way you can see and pick out any bits of shell before they are added in by mistake. I like to use free range eggs, because it is kinder to the chickens, and they also taste better. Bear in mind that raw eggs can carry Salmonella so wash little hands if they end up the raw egg.

Mixing the ingredients: My daughter (age 4) likes to add the ingredients to the food processor. Bear in mind that little hands can fit down the shoot of the food processor, so always supervise this step. The biggest messes seen to happen when sifting and mixing dry ingredients with the kids. There is not really any way around this, so just be ready to clean up afterwards. When fold wet into dry ingredients, you want to mix thoroughly, but not too much or the cakes will go flat, this usually requires the grown up to either finish off the mixing and/or intervene before mixed too much.

Sprinking with icing sugar: Put a bit of icing sugar in a sieve, and let the kids sprinkle the top of the cake with icing sugar. This doesn’t always go on evenly if a kid does it (as you can see from the sieve impression on top) but that adds to the fun.

This cake keep a few days at room temperature. I haven’t tried freezing it as it doesn’t tend to last that long, but it should work.

Decoupage Flower Tray

This craft project was a bit of a fail. Not because I am unhappy with the finished product, but because it failed to hold the attention of my four year old, and I ended up doing most of it on my own. I guess I got a bit over ambitious on this one, so I would recommend trying this with kids older than four.

Things you will need:

Bamboo tray -relatively inexpensive, purchased from The Warehouse
Old magazines – gardening magazines are best source of flower images
Mod podge – decoupage sealer, glue and finish – I got the kids washable kind
Mod podge clear acrylic sealer
Scissors
Paint brush or sponge

Instructions:

You can often pick up second hand magazines in bulk for next to nothing, so you don’t have to pay new prices. Go through them and cut out all the images of flowers you can find. I was quite meticulous in cutting around the petals of the flowers, but you could cut out squares, circles or leave a margin around the images if you like. For that matter you could use any type of image or photo that take your fancy. Only your creativity limits you really.

Do trial run at laying out the flowers before gluing them on. This ensures you have enough images to complete the project, and it will also help you to settle on how you want to arrange them.

Apply mod podge to the tray, and place flowers on top, smoothing them down with a paint brush and more mod podge. Continue until the tray is covered and you are happy with how it looks. Leave to dry. You can apply additional layers of mod podge on top to smooth out the surface of the tray. Leave to dry again. Apply a few coats of acrylic sealer spray to finish. Leave 15 minutes between coats to dry.

The tray looks great with the flowers my family got for me for Valentines day

What the kids can do:

Cutting out the images: This will depend on the child’s scissor skills. My 4 year old only cut out a few flowers before losing interest. If the edges are a bit wonky these can be hidden under other images.

Arranging and gluing the flowers: Kids can help with this one, but again my 4 year old lost interest quite quickly. She did help me with some additional top coats of mod podge.


Raising Monarch Butterflies

I am a biologist by training, so I like to slip in a biology lesson when I can. Raising monarch butterflies offers a unique opportunity for an insect life cycle learning opportunity. We have been growing swan plants for a couple years now. This year, I think we have finally reached critical mass of 14 plants, so hopefully I won’t need to run to the garden centre to get additional plants this year.

Monarch butterflies self-introduced to Aotearoa New Zealand by “island hopping” from North America in the 1870s. Monarch butterflies can only breed by providing their caterpillars with a diet of introduced swan plants. So it is a case of plant them and the butterflies will come.

Things to consider

Population control: It is not to fun to watch caterpillars starve, and this may be a harsher life lesson than you want to teach the kids. However, you may not want to keep buying more and more plants, as I have done in past years. The best way to deal with this problem is to limit the number of eggs that get laid on the plants. You can do this by wiping off excess eggs from the bottom of leaves (you will always miss some), and/or bringing the plants inside or covering them in mesh once there are a few eggs on them. It is better to raise a few butterflies, than a large number of caterpillars, that run out of food before they can pupate.

Emergency caterpillar food: Larger caterpillars (ones just about to pupate) can eat pumpkin, cucumber or courgette/zucchini for a day or two. However these vegetables do not contain the chemicals necessary for a pupa to develop correctly into a butterfly. Even feeding these to large caterpillars will reduce the proportion of pupa that are able to emerge as butterflies, so this is a last resort.

Keeping butterflies in the garden: While caterpillars can only really eat swan plants, adult butterflies can eat from a variety of flowers. You may consider planting these in conjunction with swan plants to encourage new butterflies to stay in your garden, once they emerge.

What the kids can do

Swan plants: I am not sure about other countries, but in Aotearoa New Zealand, most garden centres stock insecticide-free swan plants during monarch butterfly breeding season (spring-summer), you can also buy seeds to raise you own plants. Kids can help grow the plants and plant them.

Monitoring plants: At the start of the season, we check the plants for the first eggs, then little baby caterpillars. Later on we check for chrysalises and then watch for them to hatch.

Design a site like this with WordPress.com
Get started