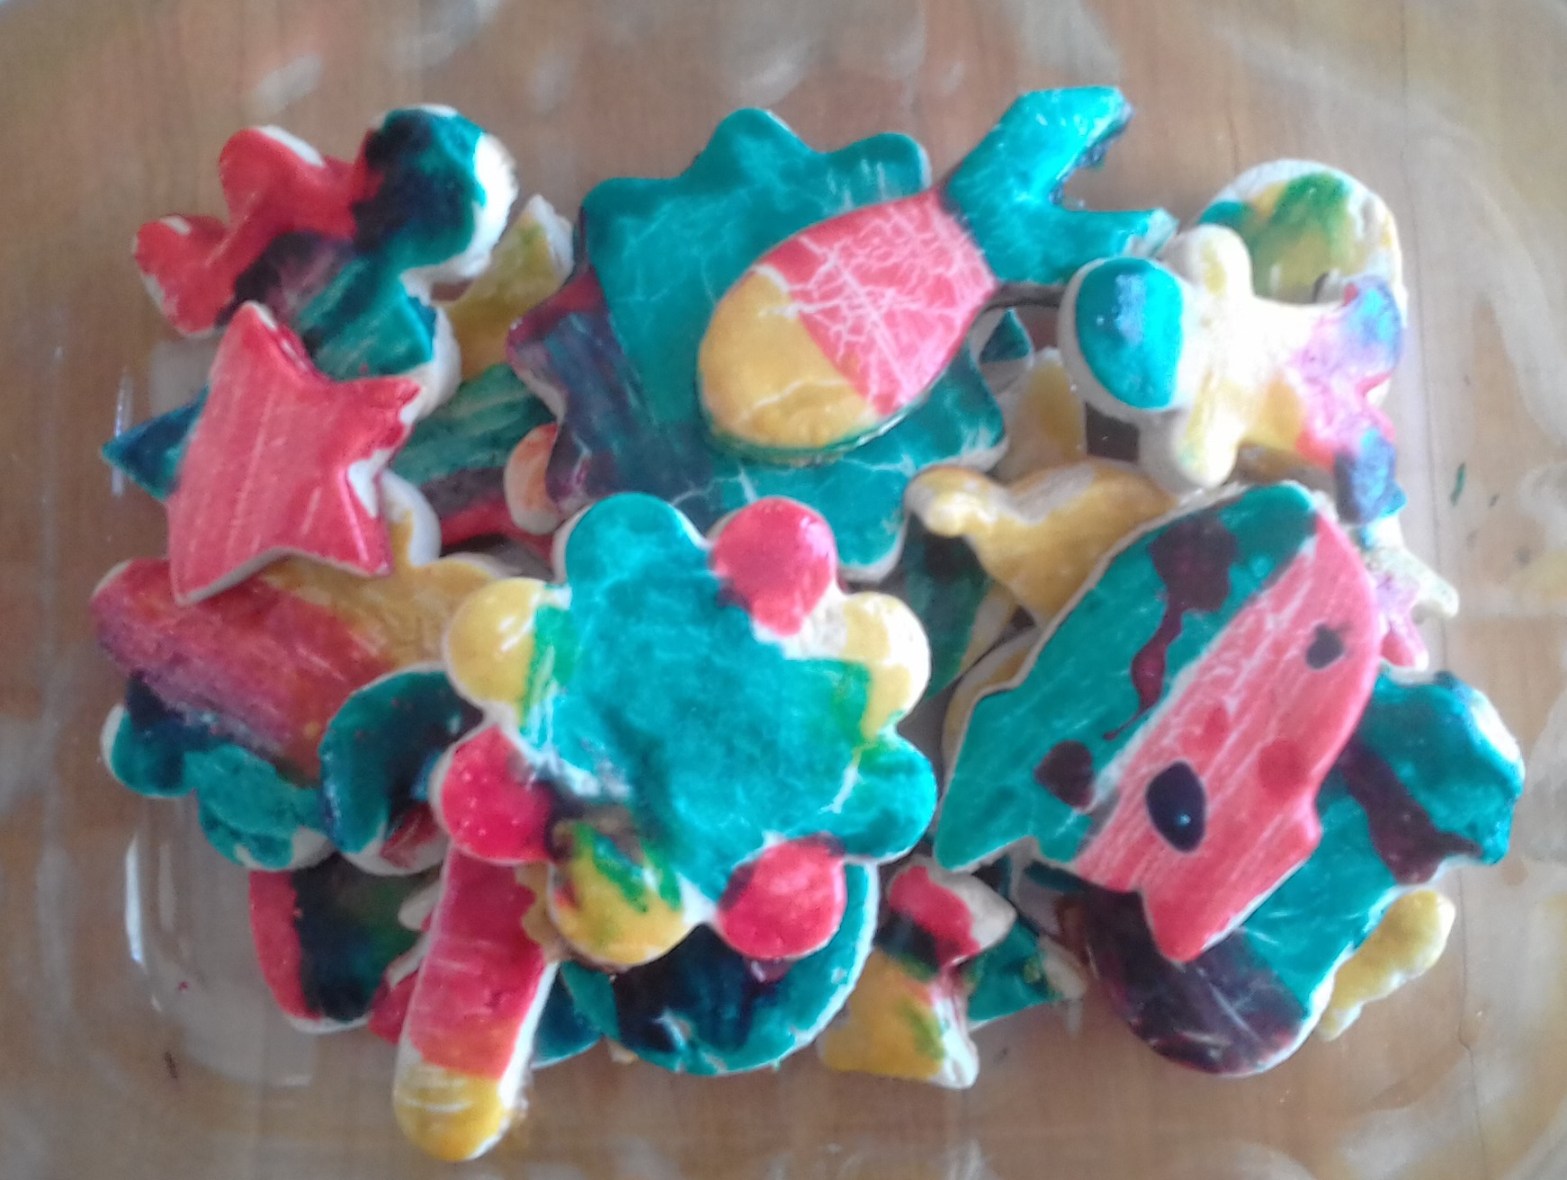
My Mum used to make these painted biscuits with my sister and I, when we were kids. Once I had kids of my own, I wanted to start this tradition with them. I was able to track the recipe down online at netmums, but have since adapted it to avoid left over egg whites. These are great fun to make, and the kids can paint them any way they want. We often make these on play dates, and send our guests home with a bag of biscuits they painted themselves.

Ingredients
Biscuits:
100g butter, softened
1/2 cup white sugar
3 free range egg whites
1 tsp vanilla essence
2 1/2 cups plain flour
Paint:
3 free range egg yolks
food colourings (red, yellow, blue)
Instructions
Place softened butter and sugar in the food processor, and beat until light and fluffy. Separate three free range eggs, and set the yolks aside, each in a separate container. Add the egg whites and vanilla essence and beat further. Add the flour a bit at a time, and beat in the food processor until the mixture comes together in a ball. Cover and chill dough in the fridge for at least and hour. You can chill it overnight, in preparation for the next day if you want.
Take the egg yolks and add a drop of food colouring to each. If you used red, yellow and blue food colourings you can make every other colour, by mixing them together. These can be covered and chilled alongside the dough until you are ready to make the biscuits.
Preheat the oven to 190°C (374°F).
Take chilled dough and kneed on a floured board until workable. Roll out dough 3-4 mm think and cut out shapes, either custom or using cookie cutters. Place these out on a greased baking trays (approximately 4 trays required total) and let the kids paint them however they want. Bake at 190°C (374°F) for 9-10 minutes or until brown.

What the kids can do
Hand washing: Don’t forget to get the kids to wash their hands before you start. Little hands always seem to end up touching everything, including the ingredients.
Mixing the ingredients: My daughter (age 4) likes to add the ingredients to the food processor. This recipe is great because you can just chuck it all in there, and don’t have to fold in wet ingredients in a bowl, which always ends up making a mess when baking with kids. Bear in mind that little hands can fit down the shoot of the food processor, so always supervise this step.
Separating the eggs: Pro tip for separating eggs with a 4 year old, break eggs into a separate glass bowl before adding to your other ingredients. That way you can see and pick out any bits of shell before they are added in by mistake. It doesn’t matter if you get some yolk in your whites or vice versa, so it doesn’t really matter if the yolk breaks. I like to use free range eggs, because it is kinder to the chickens, and they also taste better. Bear in mind that raw eggs can carry Salmonella so make sure raw ingredients don’t end up in little mouths, and little hands are washed after handling dough or paint.
Cutting and painting the biscuits: The kids may need help with rolling out the dough but enjoy cutting out the biscuits. These can then be placed on greased baking trays. I normally give one tray to each child until they are all painted. Bake each tray separately in the middle of the oven until all are cooked.
These biscuits keep a week or so in the cupboard or can be frozen for longer storage. They make a great lunch box or snack time treat. We have also used them as a nice personalised gift from the kids for teachers or relatives.
